


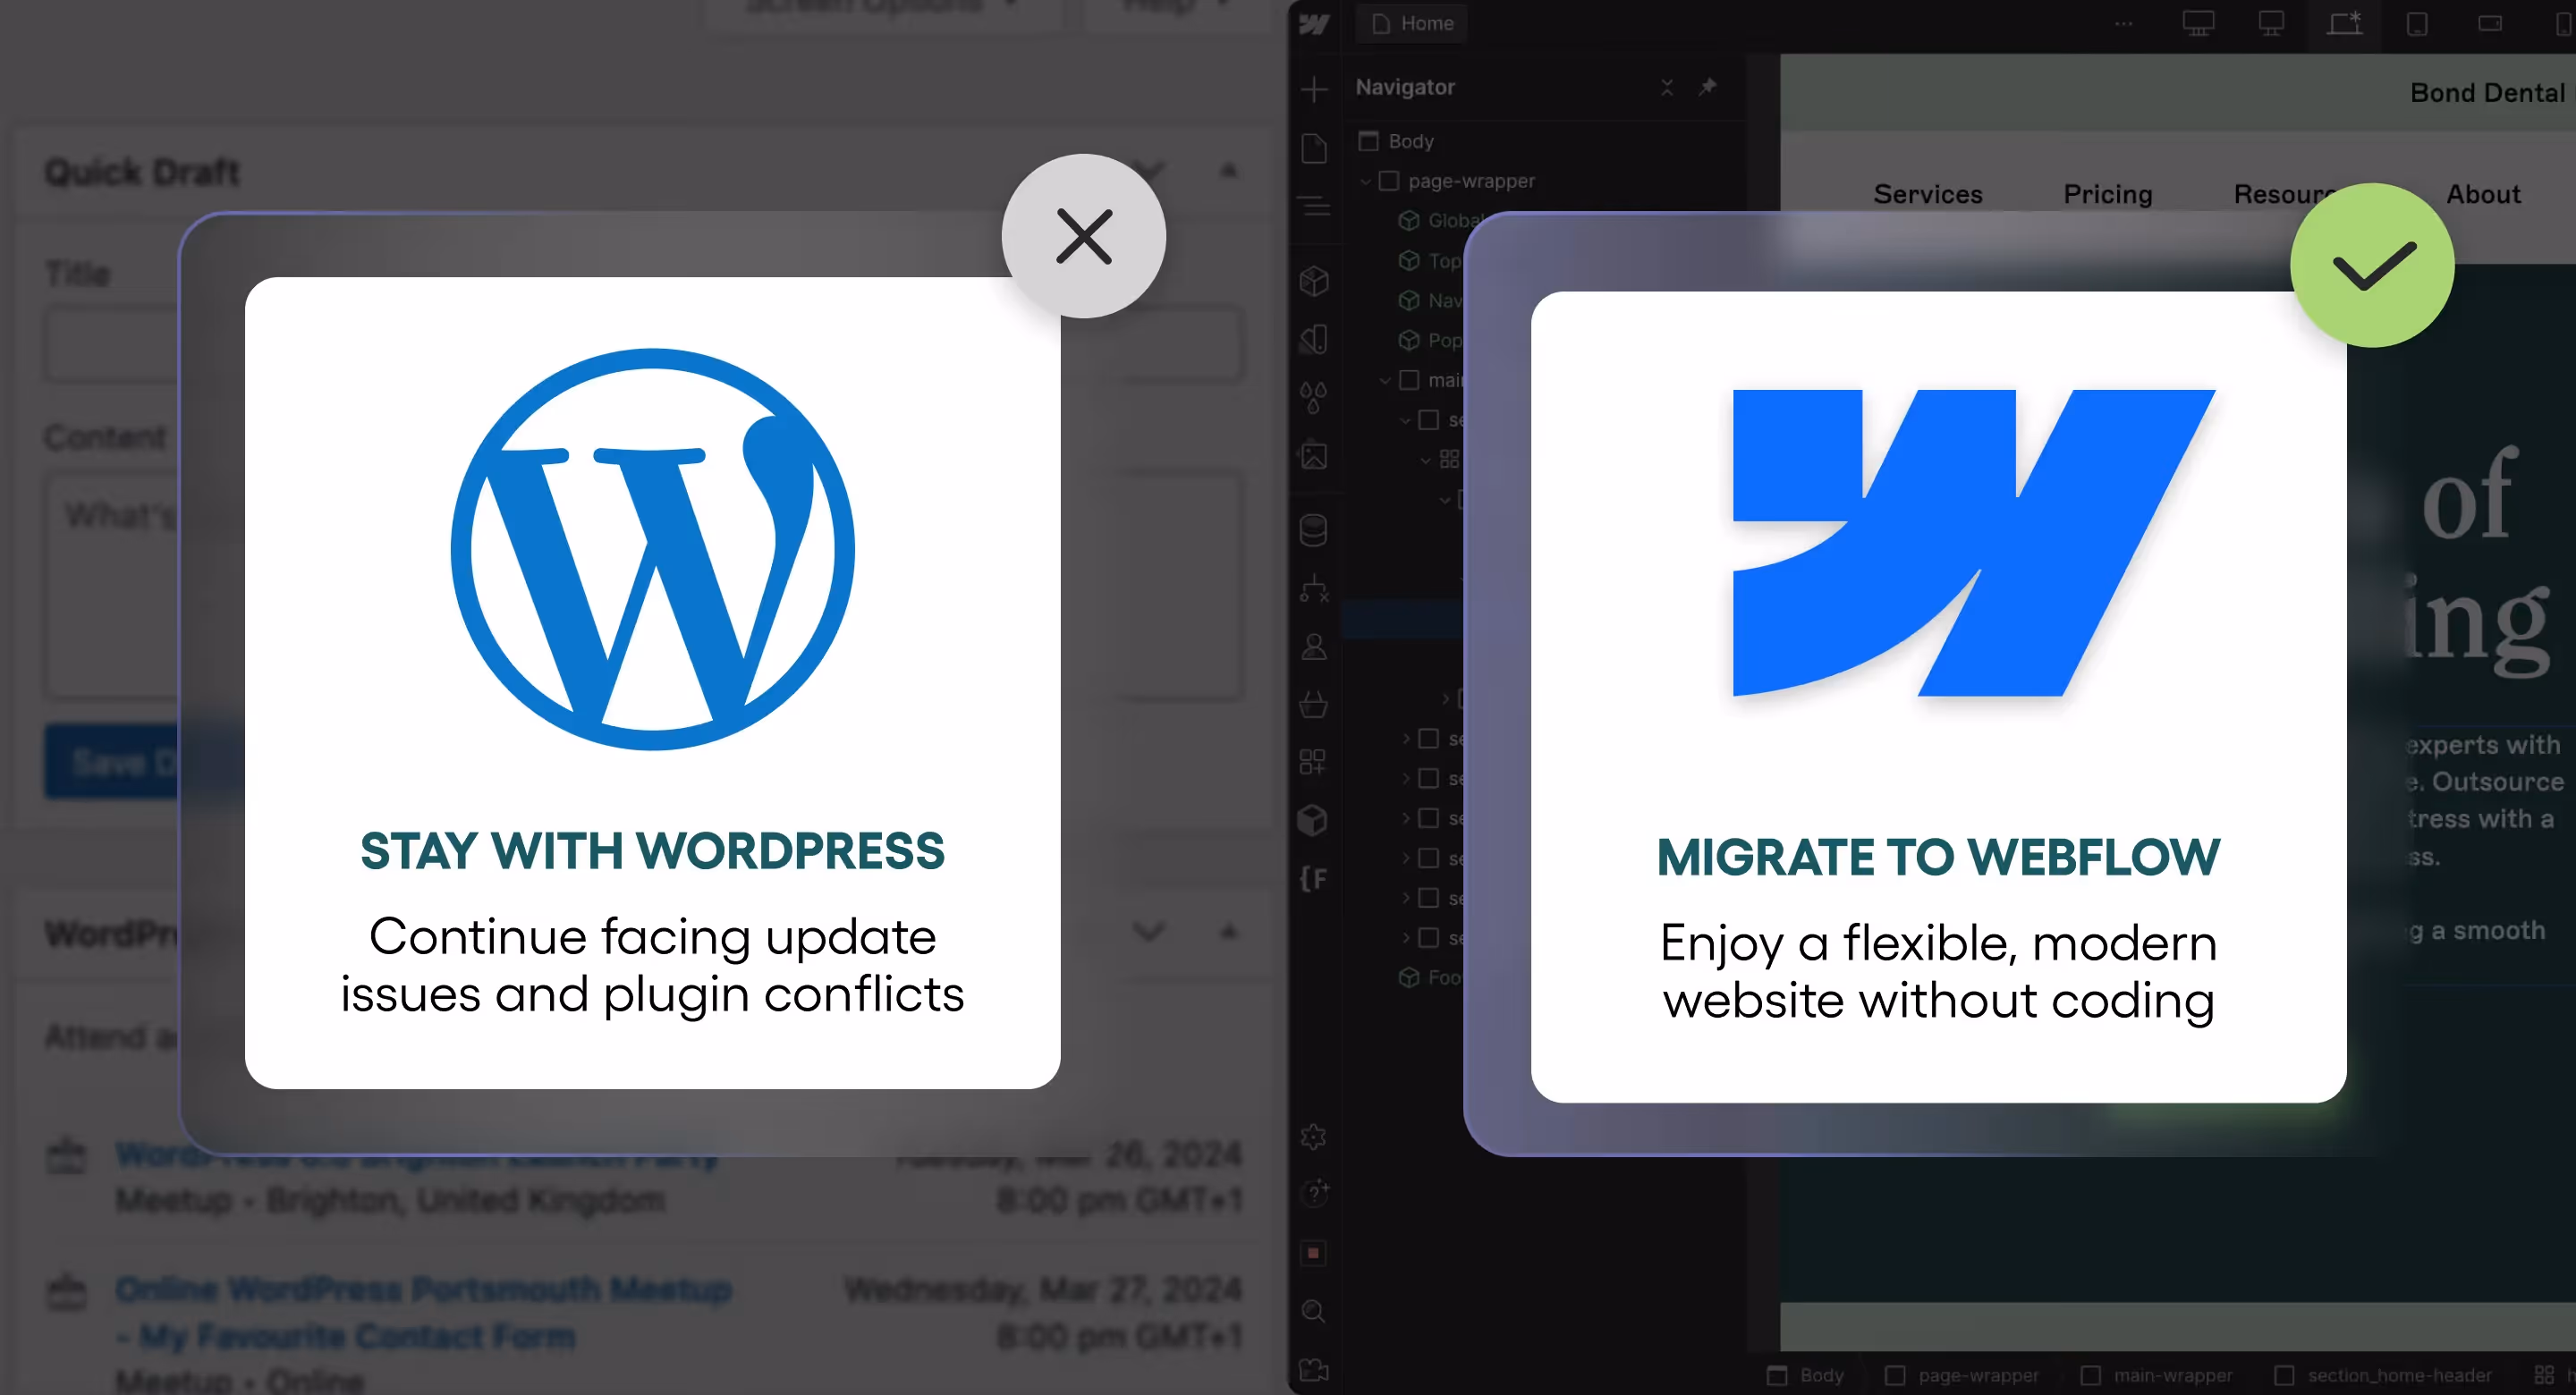
Tired of wrestling with WordPress updates that break your site? Frustrated by endless plugin conflicts and design limitations that hold your creativity hostage? You're not alone.
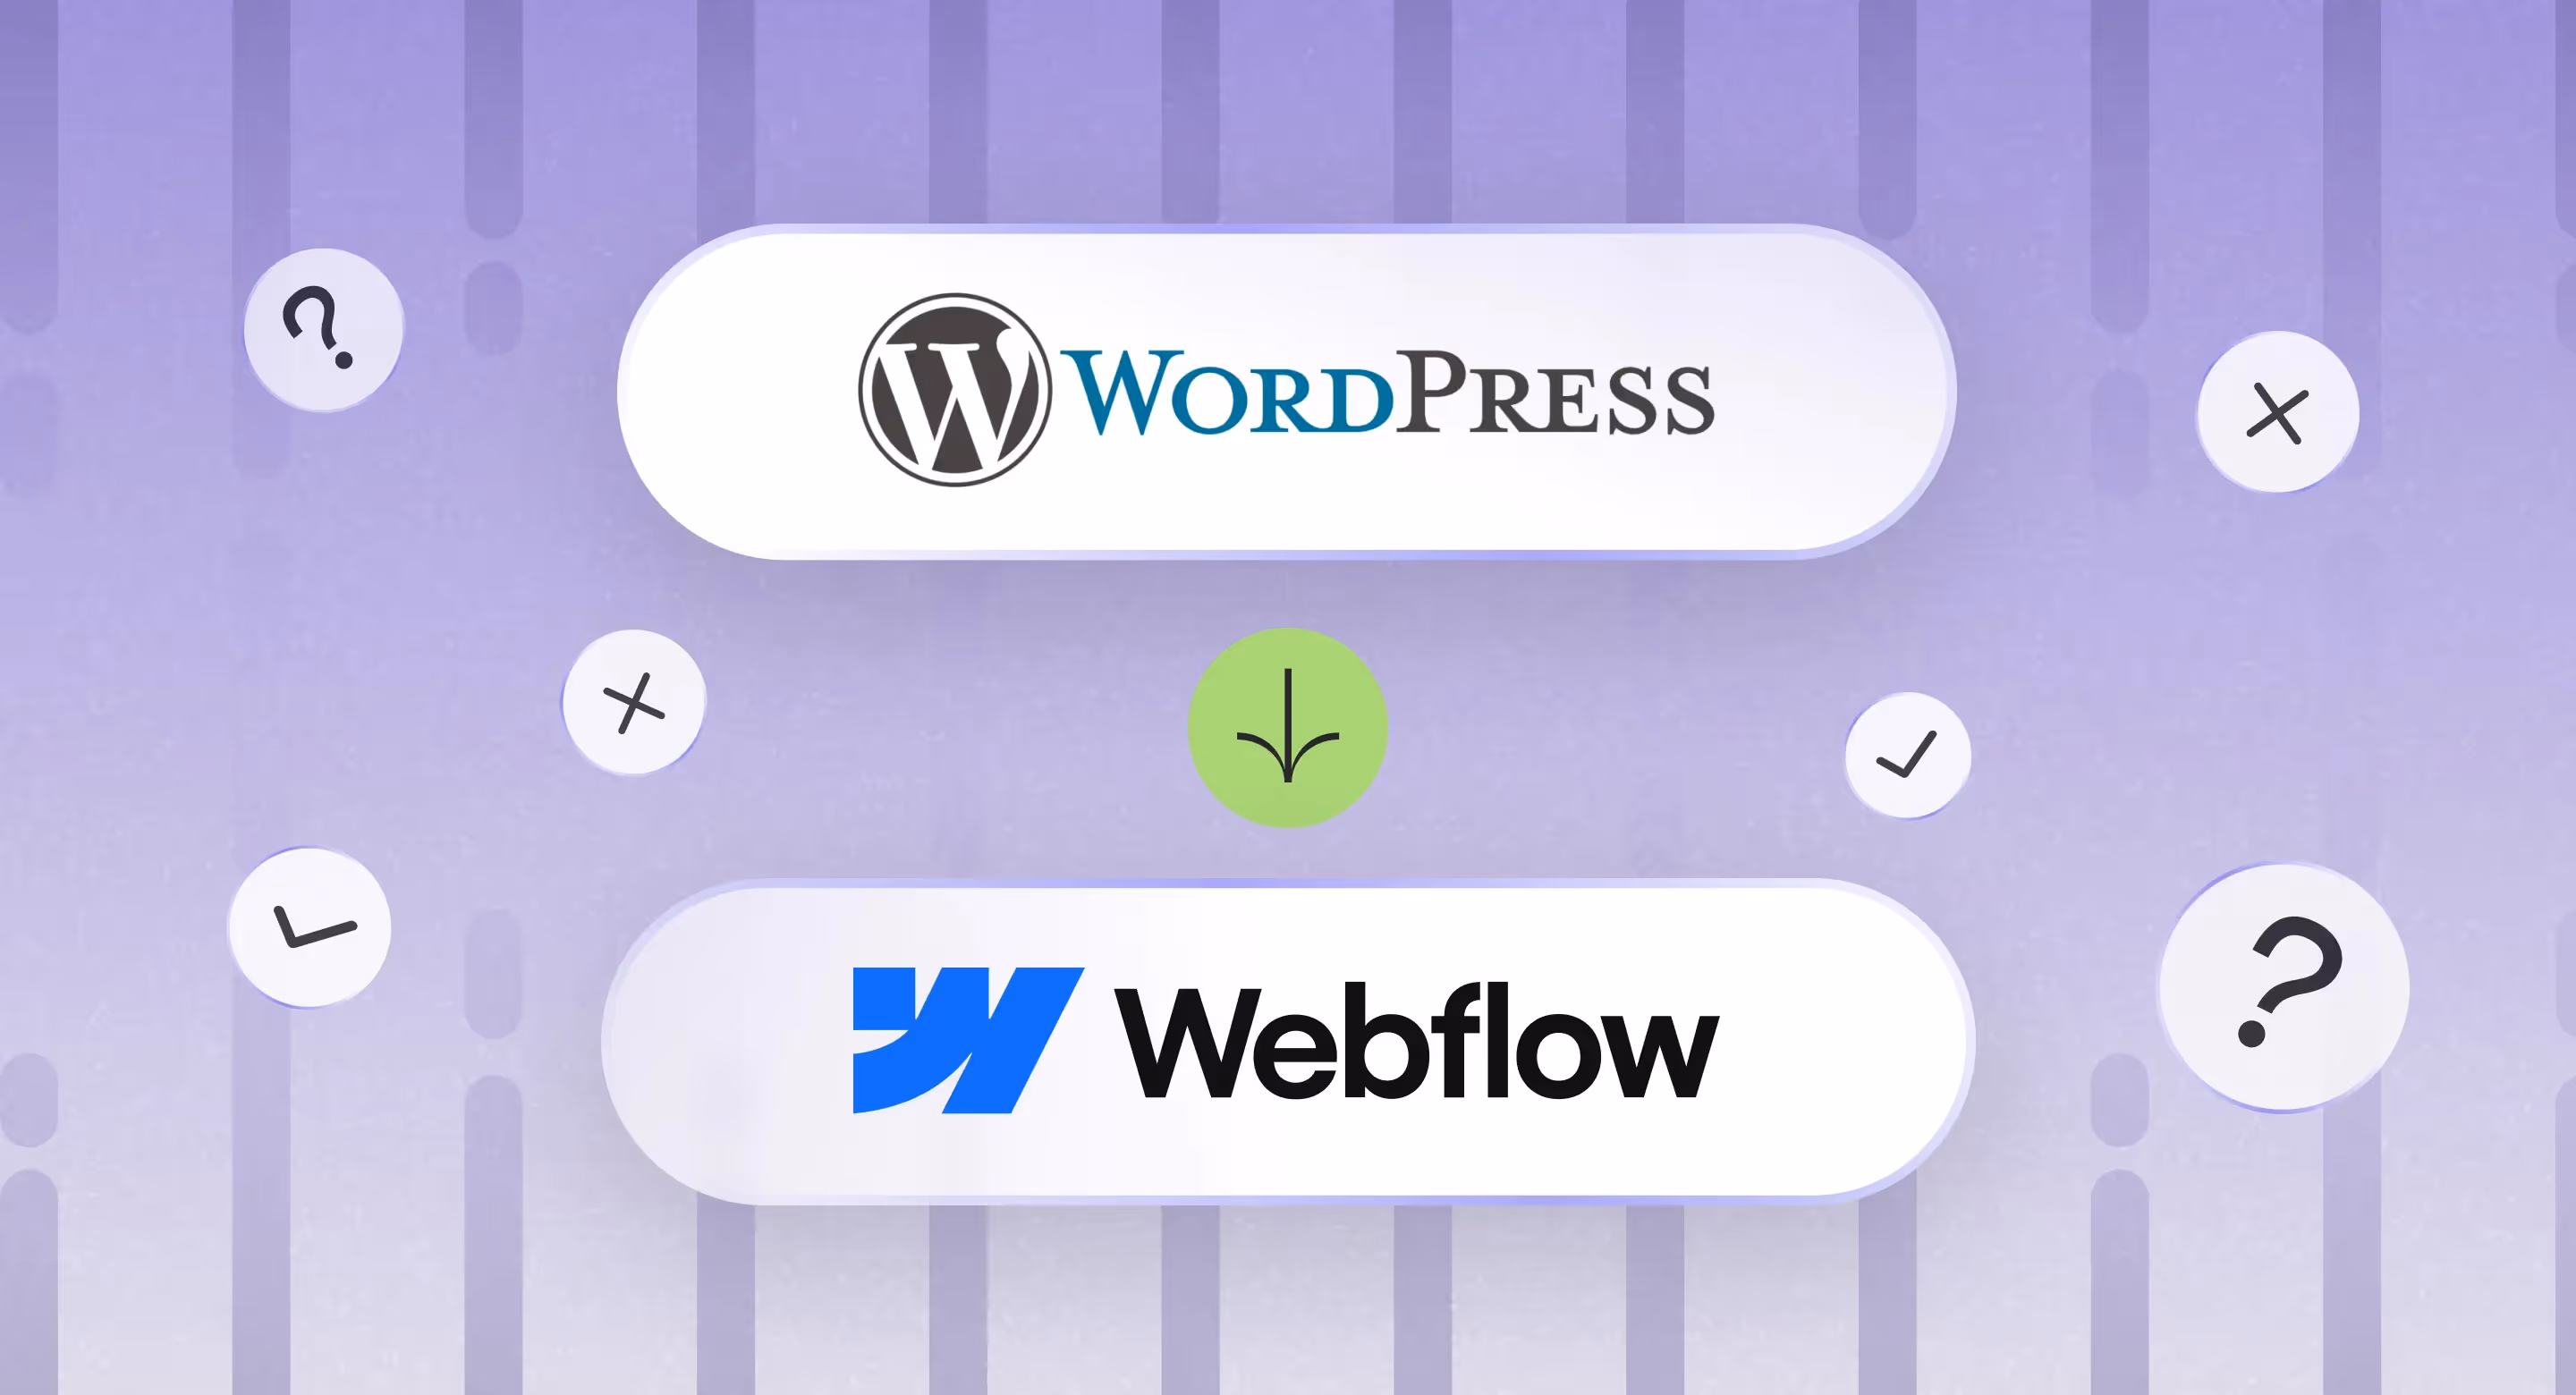
A WordPress to Webflow migration could be your perfect next step toward a more flexible, modern website. Whether you're a startup, established brand, or creative agency, Webflow's visual canvas lets you craft stunning websites without touching code.
Ready to leave WordPress headaches behind? Before we dive into the steps on how to migrate from WordPress to Webflow, let’s first look at the reasons to switch, and some challenges you might face. Then, we’ll guide you through the process, step by step. Let’s get started!
Why You Should Migrate From WordPress to Webflow
1. Webflow’s Hosting
Webflow takes care of all the hosting, so you can focus on your content and business.
- Scalable hosting: handles even the most demanding traffic
- No extra cost: Hosting included with all plans
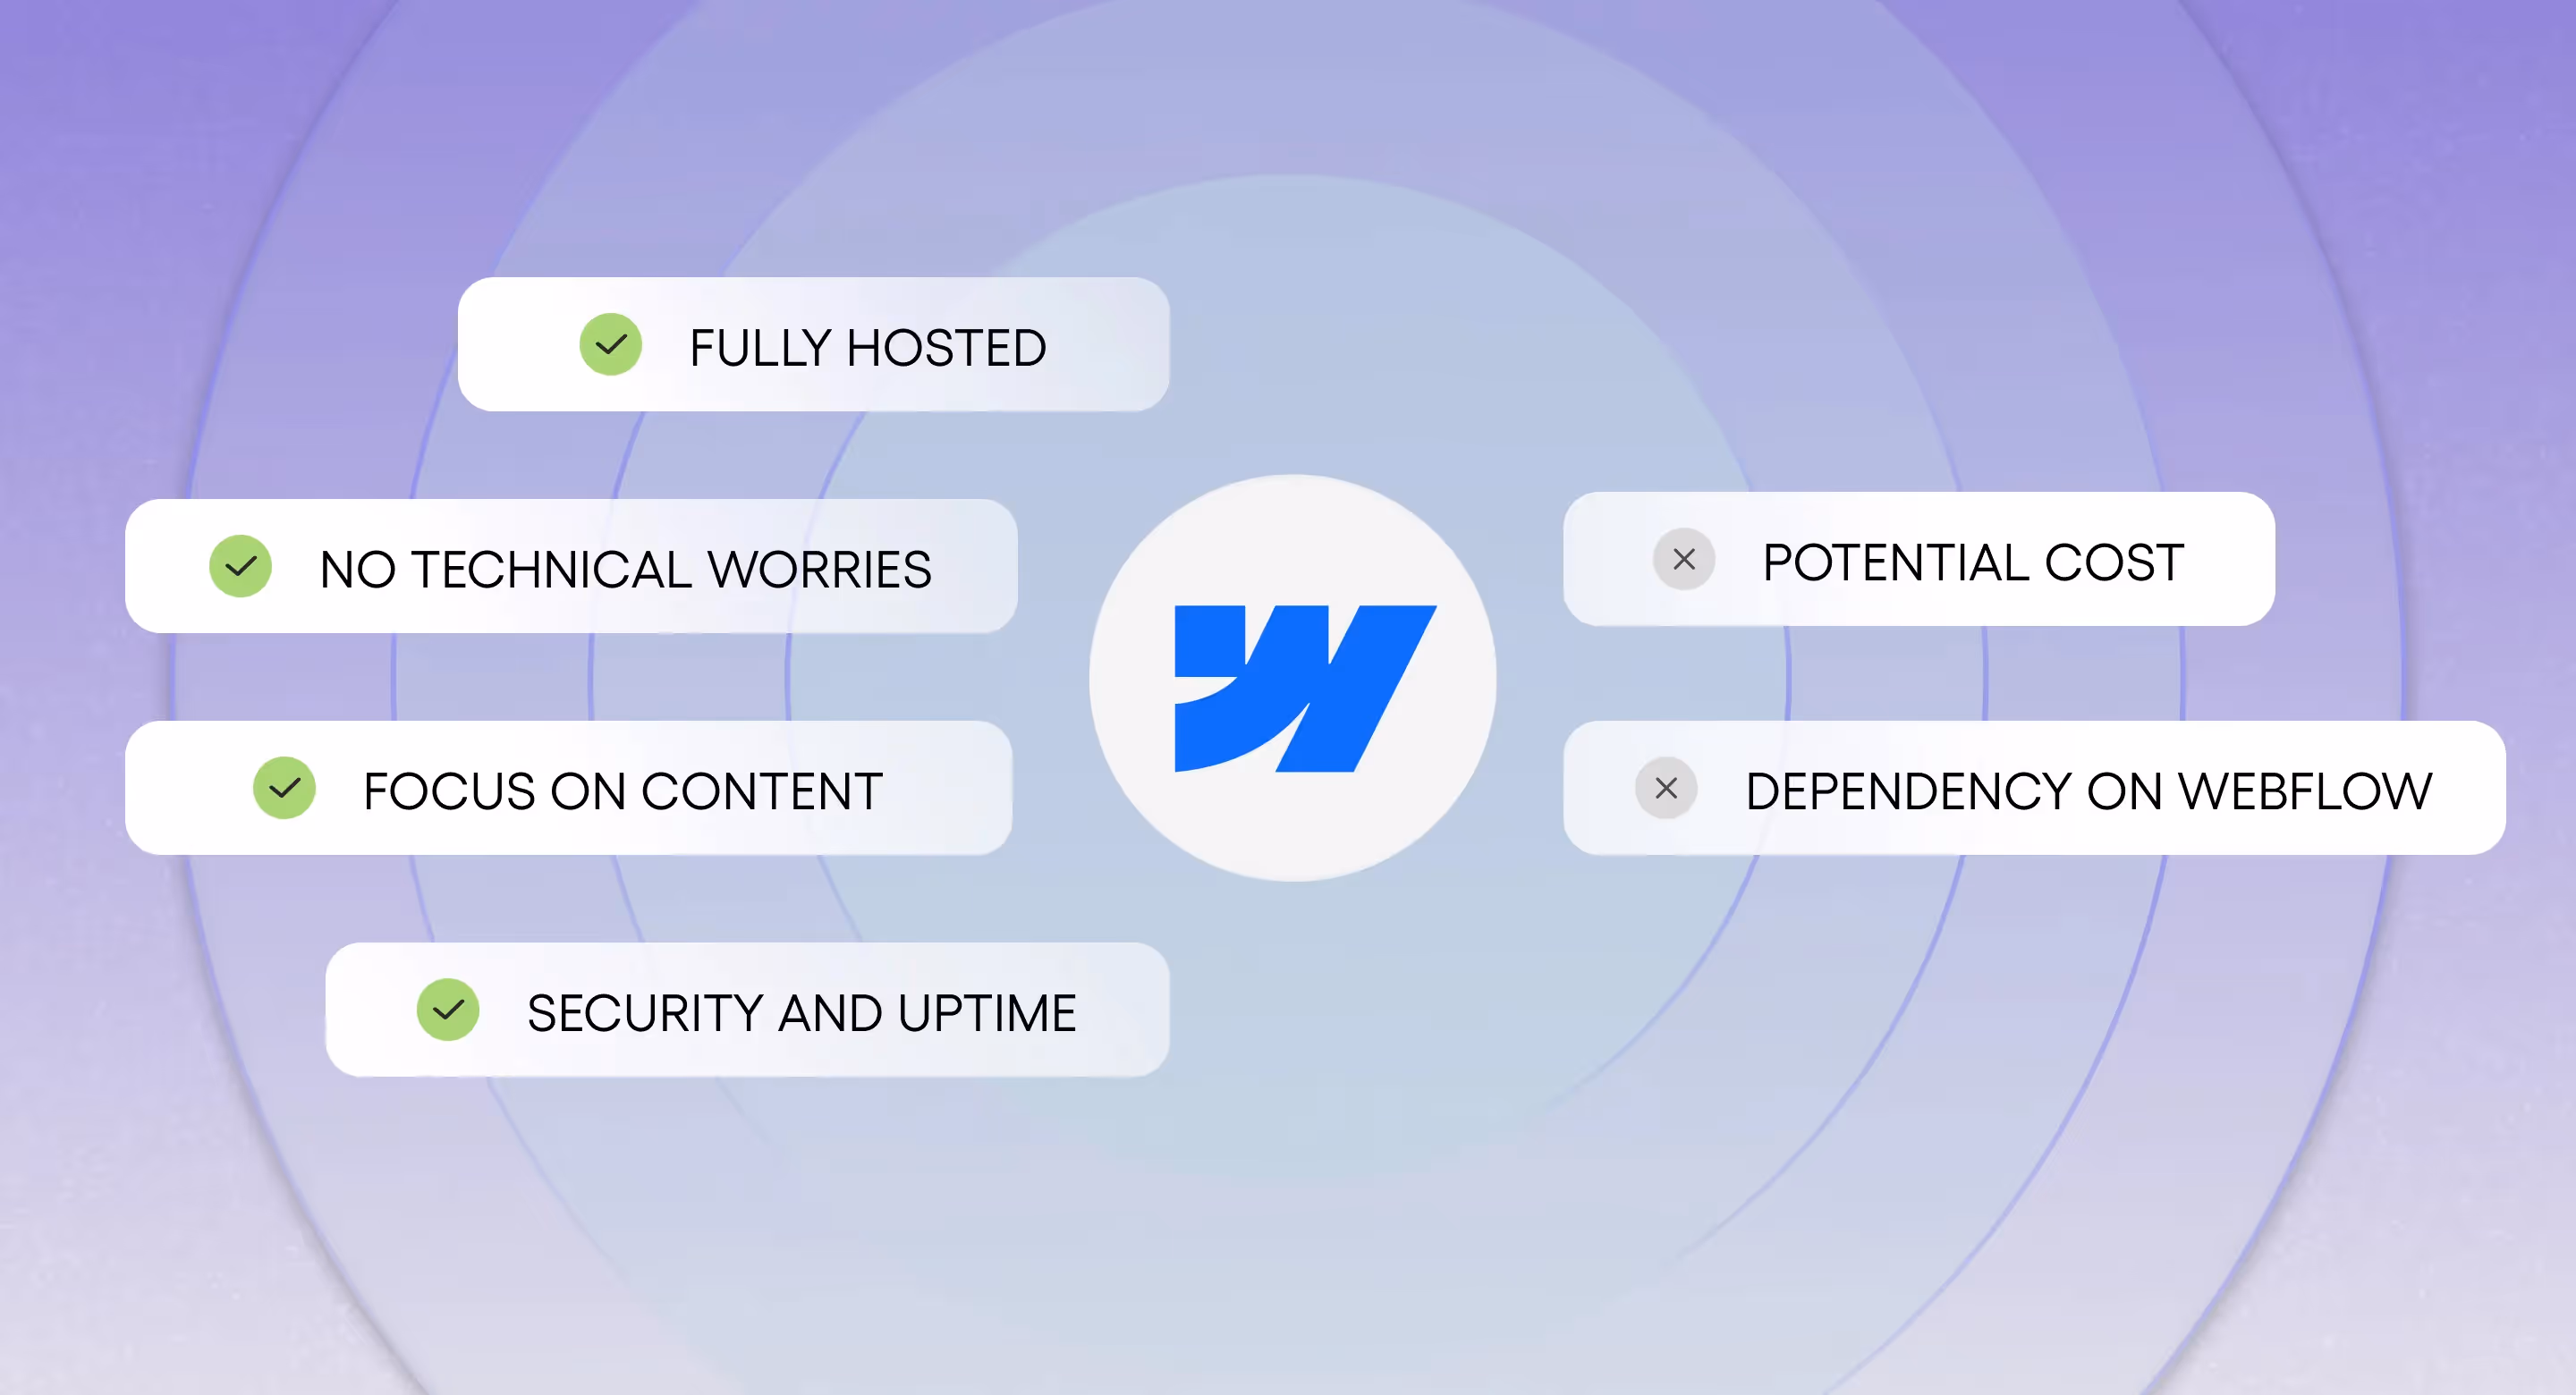
One of the biggest advantages of Webflow is that it offers a fully hosted solution. This means it takes care of all the technical aspects of hosting your website, including server maintenance, security, and uptime. This frees you up to focus on creating great content and growing your business.
In addition, Webflow’s scalable hosting can handle even the most demanding traffic, and it's included with all plans.
That's also one of the core reasons our agency specialises in Webflow Development.
2. WordPress’s Lack of Design Freedom
- Templates are often limited in terms of design and functionality
- If you want to add a new feature, you may need to edit the core code
- Editing the core code can be risky, as even a small mistake could end up breaking your website
WordPress is a great CMS for building basic websites, but it can be challenging to create truly unique and custom designs. If this platform makes you feel limited by its design capabilities.
Webflow gives you complete control over your website's design with its intuitive drag-and-drop platform, offering a wide range of design possibilities.
You can easily customize layouts, add pre-made components, and enhance your site with integrations like Google Fonts, Font Awesome, and Unsplash.
This flexibility ensures you can create a unique, professional-looking website without having to write a single line of code.
3. Say Goodbye to Plugins
- Plugins can be buggy and cause problems
- They can add a lot of code to your website and slow it down.
- Websites with plugins can be vulnerable to security attacks
WordPress plugins are a great way to add new features to your website, but they can also be a security risk, as they are often created by third-party developers, and can be difficult to keep up to date with the latest security patches.
Also, WordPress security updates are complex and time-consuming, which can leave your website vulnerable.
Webflow, on the other hand, you have complete control over your website without plugins. All the features you need to create a website are built into the platform.
4. Webflow’s Security
- Meets the stringent security requirements of SOC 2
- Powered by Amazon Web Services
- Its security team is constantly working to identify and mitigate security threats
SOC 2 compliance means Webflow has met strict security standards to protect your data. AWS hosting means your website is hosted on Amazon Web Services, one of the most reliable and secure hosting platforms in the world.
Together, these measures ensure your data is safe and secure when you use Webflow to build your website.
5. Speed and Performance Issues
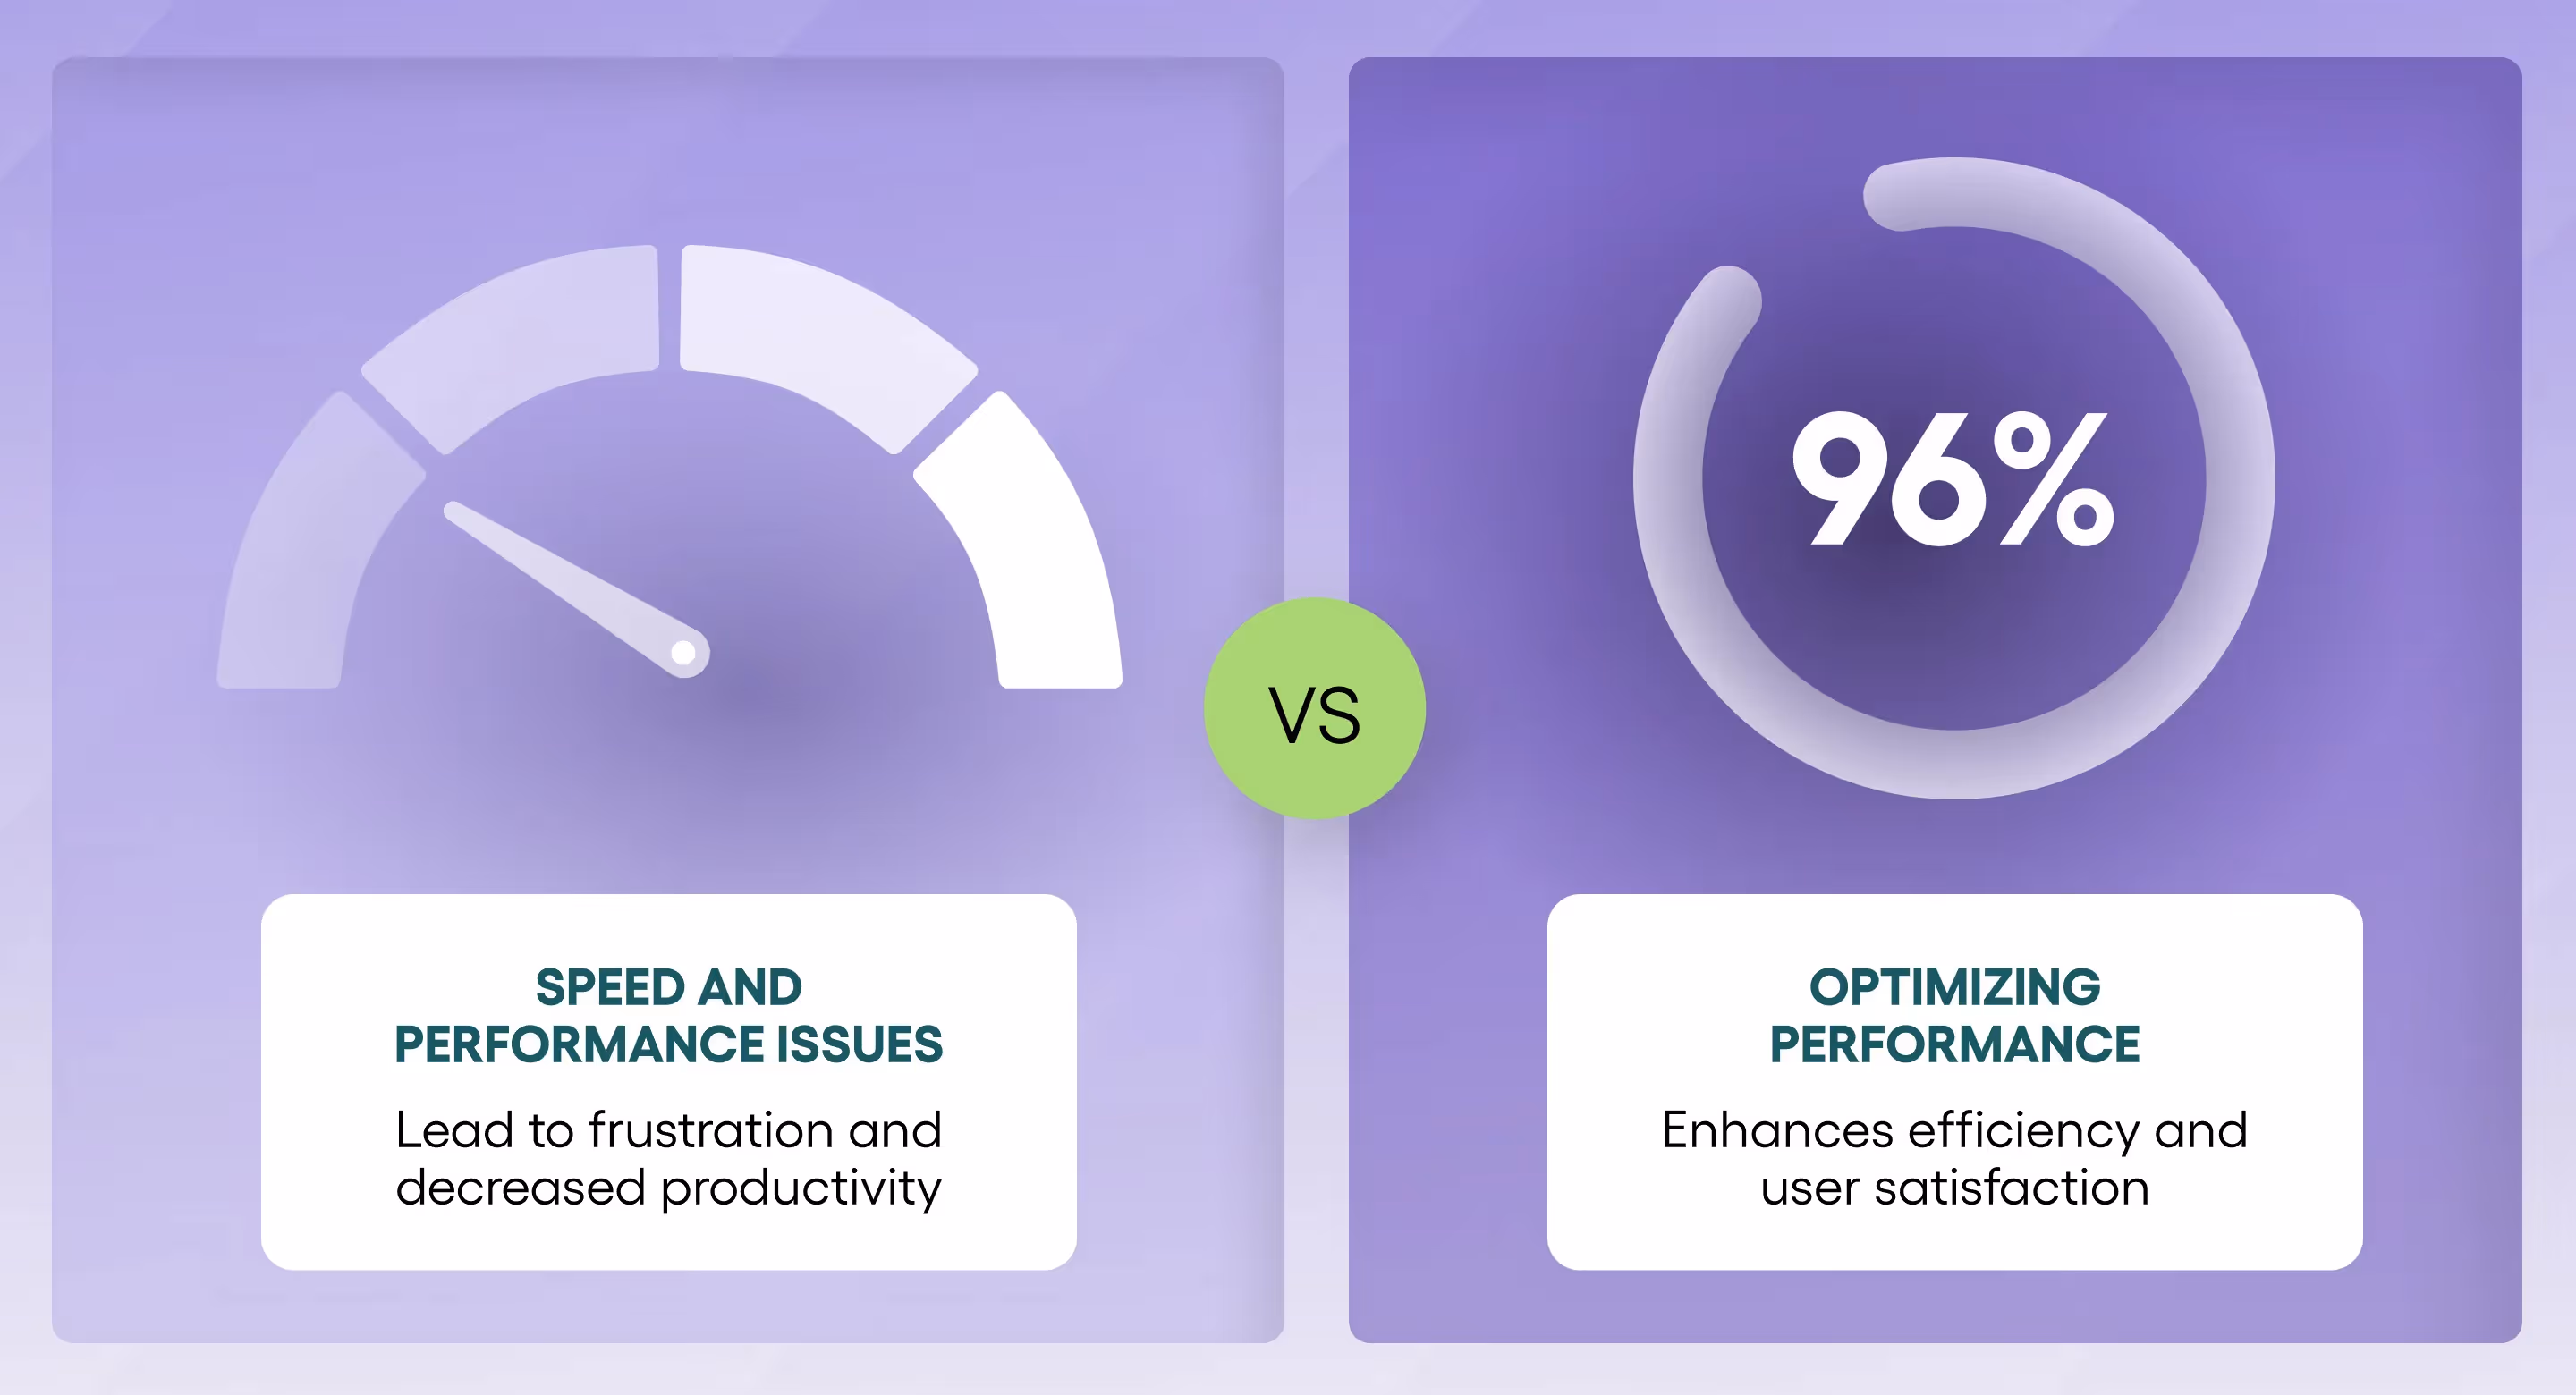
- WordPress websites can become slow and unresponsive as they grow in size and complexity.
- WordPress websites often struggle to handle large amounts of traffic.
As WordPress websites grow, they can also experience slower page load times due to the increasing number of HTTP requests from multiple plugins, media files, and complex themes.
This added complexity can cause delays in content rendering and hurt the overall user experience, especially on mobile devices.
Additionally, inefficient caching and unoptimized databases can further slow down performance, making it harder to keep the site running smoothly without constant optimization efforts.
On the other hand, Webflow offers many performance features like image optimization, code minification, and caching.
It's one of the reasons why some users decide to migrate from WordPress to Webflow, as Webflow often handles many of these optimization tasks automatically
Considering other platforms? Don’t miss our in-depth guide on Contentful to Webflow migration to explore another common use case.
6. SEO Challenges
- It can be difficult to rank well in search engines with a WordPress website, especially if you are using many plugins
Ranking well in search engines can be tough with a WordPress site, especially if you're relying on a bunch of plugins that can clutter your code and slow things down.
This extra complexity can hurt your SEO performance.
Migrate from WordPress to Webflow to benefit from Webflow’s simple, clean code and built-in SEO tools that help improve your site's speed and search engine rankings.
7. Effortless Team Collaboration with Webflow
Webflow makes team collaboration effortless by streamlining web design and development projects.
With real-time editing and commenting features, team members can communicate clearly and stay aligned on the project’s vision.
This collaborative approach empowers agencies and teams to create high-quality websites quickly and efficiently, ensuring smoother workflows and faster delivery times.
WordPress to Webflow Migration: What Are the Challenges?
- Third-party integrations and Plugins
You may need to find Webflow alternatives to your WordPress third-party plugins or services.
- Custom code
If your WordPress site uses custom code, you should import this code to Webflow, which can be difficult and time-consuming.
- Design Adjustments
Replicating the exact design of your WordPress site may not be possible, so you may need to make some adjustments to achieve the desired look and feel.
- Content migration
Migrating content from WordPress to Webflow can be complex and time-consuming, especially if you have a large website with a lot of content.
- Learning curve
Webflow is a powerful tool, but it has a steep learning curve. You may spend a lot of time learning how to use it before migrating your website.
Preparing for the Migration
Before starting your WordPress to Webflow migration, take a step back and review your website’s design.
This is a good time to assess what’s working and what could be improved. Think about any design updates you’ve been putting off, so you can make those changes as you move forward.
Next, go through your content—your pages, posts, and images.
Decide what’s worth keeping and what can be removed. This is your chance to tidy things up, get rid of outdated or irrelevant material, so your new Webflow site feels fresh and organized.
How to Migrate from WordPress to Webflow - Step-by-Step Guide
Migrating from WordPress to Webflow can be a daunting task, but don’t worry! With a little planning and effort, you can easily move your website to Webflow and enjoy all the benefits that the platform has to offer.
Let's migrate your website from WordPress to Webflow together. We'll walk you through the main steps involved and provide some tips and tricks to help you make the process as smooth as possible.
Step #1: Backup Your Current Website
Backing up your current website is extremely important. This way, if anything goes wrong during the migration process, you can restore your website to its original state.
How to do it: Use a plugin like UpdraftPlus or All-in-One WP Migration to create a full backup of your WordPress site. Ensure you download both the database and media files for safekeeping.
Step #2: Pick Your Migration Method
This could be manual migration, using WordPress plugins, or using dedicated migration tools.
While plugins like WP All Export can help with content export, there is no fully automated tool for WordPress-to-Webflow migration. Most of the process involves manual steps or CSV imports.
Migration methods:
- Manual Migration: Copying content directly from WordPress to Webflow.
- CSV Export: Using plugins like WP All Export to export posts, pages, and custom fields into CSV format.
- Limited Automation: Tools like CMS2CMS can facilitate some aspects of migration, but require manual adjustments afterward.
Media files must be exported separately using a plugin like Export Media Library.
Step #3: Choose a Suitable Webflow Plan
Choosing the right hosting plan for your website is essential for its performance and reliability. Consider your budget, your website's traffic, and the features you need when making your decision.
How to do it: Webflow plans include hosting, so you don’t need a separate hosting provider. Visit Webflow's pricing page, compare the different plans, and choose one that meets your needs:
- Basic Plan: Best for simple websites without CMS functionality.
- CMS Plan: Ideal for blogs or content-heavy sites that require dynamic content.
- Business Plan: Suitable for high-traffic websites with advanced features.
Step #4: Initiate Your Webflow Build
The next step is to create a new Webflow project and choose a template. Then you can start designing your new website. You should also set up your CMS collections in Webflow at this stage if you plan to use dynamic content.
How to do it: Click on the “Create Project” button in Webflow and choose a template from the Webflow library. Before starting, map out your site structure (pages/CMS collections) to ensure everything is accounted for.
Step #5: Designing a Wireframe (Optional)
Create the structure of your new website and ensure it’s functional and user-friendly. Wireframing is optional and more relevant if you're redesigning the site, rather than replicating the existing structure.
How to do it: Use tools like Figma or Adobe XD to sketch out your website’s layout, or simply use pen and paper.
Step #6: Extract Your WordPress Content
Extract your WordPress content, including pages, posts, images, and other media files. You can use a WordPress plugin to do this, or you can export your content manually.
WordPress exports data in XML format by default, which is incompatible with Webflow.
For media files, use the plugin Export Media Library to download all images in bulk.
Step #7: Import the Exported WordPress Content Into Your Webflow Project
This is the part where your website's new home starts to take shape. Once you've imported your content, you'll be able to start customizing your Webflow website.
How to do it:
Go to Webflow's CMS Collections and click "Import."
Upload your CSV file and map its fields (e.g. title, body text) to corresponding CMS fields in Webflow.
Manually upload media files into Webflow’s Asset Manager, since images cannot be imported via CSV.
Step #8: Consider 301 Redirects
301 redirects are important for SEO, as they will help redirect old visitors from your WordPress URLs to their new URLs on Webflow. This preserves SEO rankings after migration.
How to do it:
- In Webflow, go to "Settings" > "Publishing" > "301 Redirects."
- Add old WordPress URLs under "Old Path" (e.g., /old-page).
- Add corresponding new Webflow URLs under "Redirect To Path."
- Save changes and test redirects using tools like Redirect Checker.
Step #9: Check for Errors
Carefully check your website for errors before you launch it. Even a single typo can damage your brand, so make sure everything is good before you put it live.
Check for:
- Formatting issues (e.g., headings or spacing).
- Broken links (internal/external).
- Missing images.
- SEO metadata errors (titles/descriptions).
Step #10: Migrate Your Domain
Almost done! Now it’s time to update your DNS records, so that visitors can access your new site on its domain name.
How to do it:
- Log in to your domain registrar (e.g., GoDaddy or Namecheap).
- Update DNS settings:
- A Record: 75.2.70.75
- CNAME Record: www pointing to proxy.webflow.com
- Save changes and wait for DNS propagation (up to 48 hours).
Step #11: Test Your New Website
Test every page, link, and feature on your website thoroughly before launching it live.
Testing should include:
- Mobile responsiveness.
- Form submissions.
- Page load speeds.
- Cross-browser compatibility.
Step #12: Monitor Your Analytics
After migration, track your website's performance using analytics tools like Google Analytics.
How to do it:
- Get your Google Analytics tracking ID (e.g., UA-XXXXXX or G-XXXXXX).
- Paste it into Webflow's "Project Settings" > "Integrations."
Step #13: Launch Your Website
This is the moment you've been waiting for! Click "Publish" in Webflow's dashboard to make your website live for everyone to see.
While this guide focuses on WordPress, we also cover how to migrate from Contentful to Webflow for teams using headless CMS platforms.
Conclusion:
Migrating from WordPress to Webflow can enhance your site’s performance, security, and design flexibility.
Whether you need to migrate WordPress to Webflow or export WordPress to Webflow, following the right steps ensures a smooth transition.
If you’re unsure about the difference between WordPress and Webflow or need guidance through the migration process, our team is here to help you every step of the way.
Ready to Migrate from WordPress to Webflow? Let’s Talk!
Frustrated with slow load times, constant plugin issues, and a clunky backend?
It’s time to migrate from WordPress to Webflow and enjoy a website that’s faster, more reliable, and easier to manage.
We’ve helped businesses move from WordPress to Webflow, and they’ve seen real results- better performance, improved SEO, and a hassle-free experience.
Imagine a website that looks great, runs fast, and never breaks—Webflow delivers.
Let’s move you over!
Contact us today for a free consultation.
P.S. Want to see what’s possible? Check out our portfolio and see the difference Webflow can make!


