


Have you ever wondered how you can transfer your Sketch designs to Webflow? In this forthcoming article, we'll expertly lead you through each phase of the process, covering everything from initiating a fresh project in Sketch to showcasing the final result on Webflow.
What is Sketch?
Sketch is a comprehensive design software suite that empowers designers to create visually stunning products across a range of scales, catering to both individual and collaborative workflows. The suite encompasses a powerful Mac app for meticulously crafting designs, a web app for seamless handoffs and document management on the move, and an iOS app for convenient on-the-go prototyping.
What is Webflow?
Created in 2013, Webflow has established itself as a versatile website-building platform and hosting platform. This online solution has gathered the admiration of coders, web designers, and novice users alike. Webflow's capabilities span from visual design and code customization to website hosting and traditional CMS (Content Management System) functionalities. Its comprehensive features position Webflow as a robust platform with a wealth of possibilities.
Webflow's versatility extends to its diverse range of applications, catering to a wide spectrum of website types, features, and pages. It seamlessly handles landing pages, e-commerce sites, blogs, and B2B websites. Additionally, Webflow's CMS capabilities and hosting platform make it a well-rounded solution for website creation and management. For more articles on how to transfer designs to Webflow you can take a look at :
What to keep in mind before transferring your designs from Sketch to Webflow?
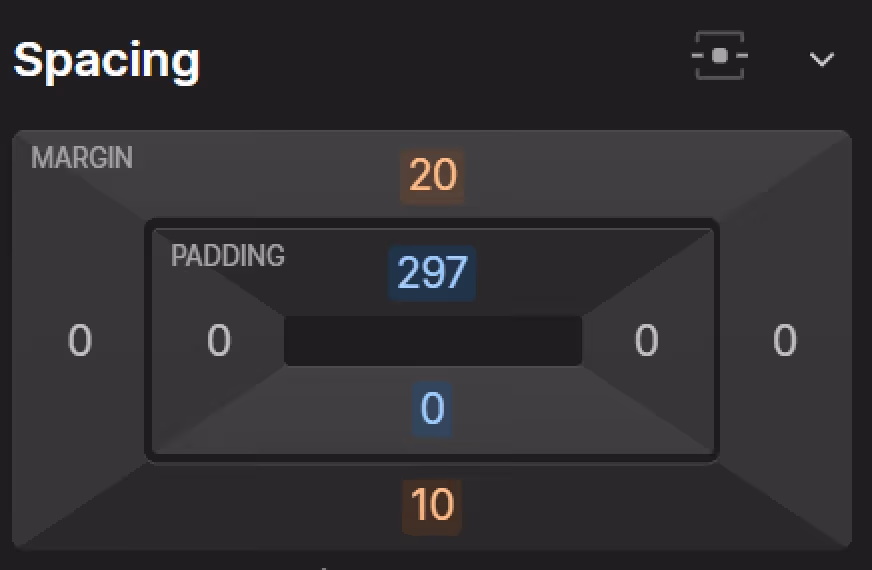
Webflow incorporates a box model
The model consists of four concentric rectangles: content, padding, border, and margin. Each rectangle represents a distinct element of an element's spacing: the content area, the space between the content and the border, the border itself, and the space between the border and other elements. This model is essential for Sketch design as it accurately reflects the web's margin-based spacing system.
Maximizing the utility of Sketch involves integrating plugins
Hone your Sketch experience and design with unparalleled efficiency thanks to two plugins:
The Paddy plugin seamlessly applies precise padding to background layers within a group, ensuring your buttons, symbols, and elements maintain consistent spacing. Perfect for projects destined for recreation in Webflow.
To reveal the full potential, the Measure plugin makes an impact. One-click generates an HTML page that offers offline verification of every intricate design detail, from CSS styles to layout specifics. Enhance your Sketch experience and design with unparalleled efficiency.
Sketch vs Webflow Features comparison
Both platforms for web designs have unique features in terms of usage, customizability, editing style, core features, integration, learning curve, and collaboration. When evaluating their strengths and weaknesses, they can be categorized as follows:
7 Simple Steps to transfer designs from Sketch to Webflow
Following steps when transfering designs from Sketch to Webflow is crucial. It may seem easy at first glance, but everyone can get lost in the process, in order to avoid that we have created these simple 7 steps for migrating designs.
Step 1: Elevate Your Sketch Design with Paddy Magic
Firstly, you will need to export your desired Sketch design to SVG file.
Go to File, then Export, and then click on SVG - This will create an SVG file that you can import into Webflow later on.
Step 2: Streamline Your Design-to-Dev Workflow with Sketch Measure
Effortlessly extract design details, including CSS styles, and generate an index file for comprehensive design inspection. In this step we will have to prepare your images for use in Webflow:
- Apply Measure settings
Before exporting your design details, apply your desired settings for Measure. This will ensure that the generated index file and ZIP file contain the accurate measurements and styles you need.
- Click Spec Export
Once you've applied your Measure settings, click the "Spec Export" button. This will initiate the export process and generate the index and ZIP files containing your design details.
- Inspect design details in the index file
Open the generated index file to inspect all the design details, including CSS styles. This file provides a comprehensive overview of your design elements and their properties.
- Use assets from ZIP files for Webflow site
Unzip the ZIP file to access the assets, such as images and fonts, required for building your Webflow site. These assets ensure that your Webflow site matches your original Figma design.
Step 3: Adding Fonts
The next step is to add our assets to the Webflow project and insert fonts.
Open your Webflow project, select the font tab in the project settings on the right, and add your fonts.
Creative Corner Tip: Only use the weight(s) that you need when uploading fonts. Every font weights adds to the site’s file size and load time, which will be important for SEO later on.
Step 4: Create a Style Guide for Consistent Design
In this step we will create a style guide in Webflow. Without having to spend a lot of time updating a color through the whole document in Sketch, we will use global colors to save time and headaches.
Simply mark a swatch as "Global" within Webflow, and any subsequent modifications to that swatch will be seamlessly reflected across the entire project.
The layout of your style guide is entirely at your decision. It can be as structured or informal as you prefer.
When defining element sizes, prioritize relative units over fixed units. This will make sure that an element’s size will be considered relative to the other elements. In short, it will make all your elements responsive across various devices, but do not forget to check again about responsiveness, because sometimes designs are crashing.
To achieve responsive web design, we utilize units like percentages (%), viewport width (vw), and viewport height (vh). These units allow our elements to adapt seamlessly to the browser's dimensions, unlike pixels. Since their actual size adapts to the viewport size, they are ideal for responsive layouts.
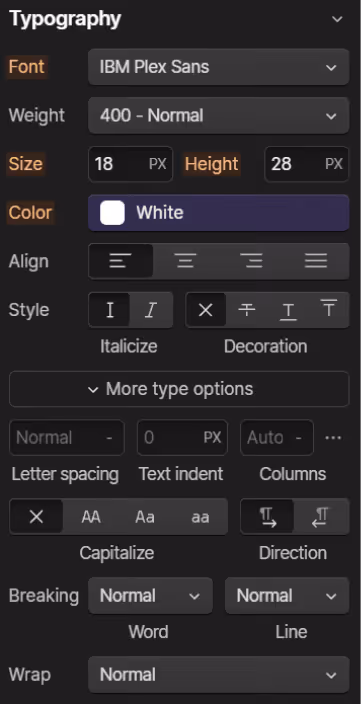
Regarding font size, opt for rems (relative to the root font size), which scale proportionally with the root font size, ensuring consistent text sizes across different devices. This approach promotes accessibility and user comfort.
Each section will have the following components:
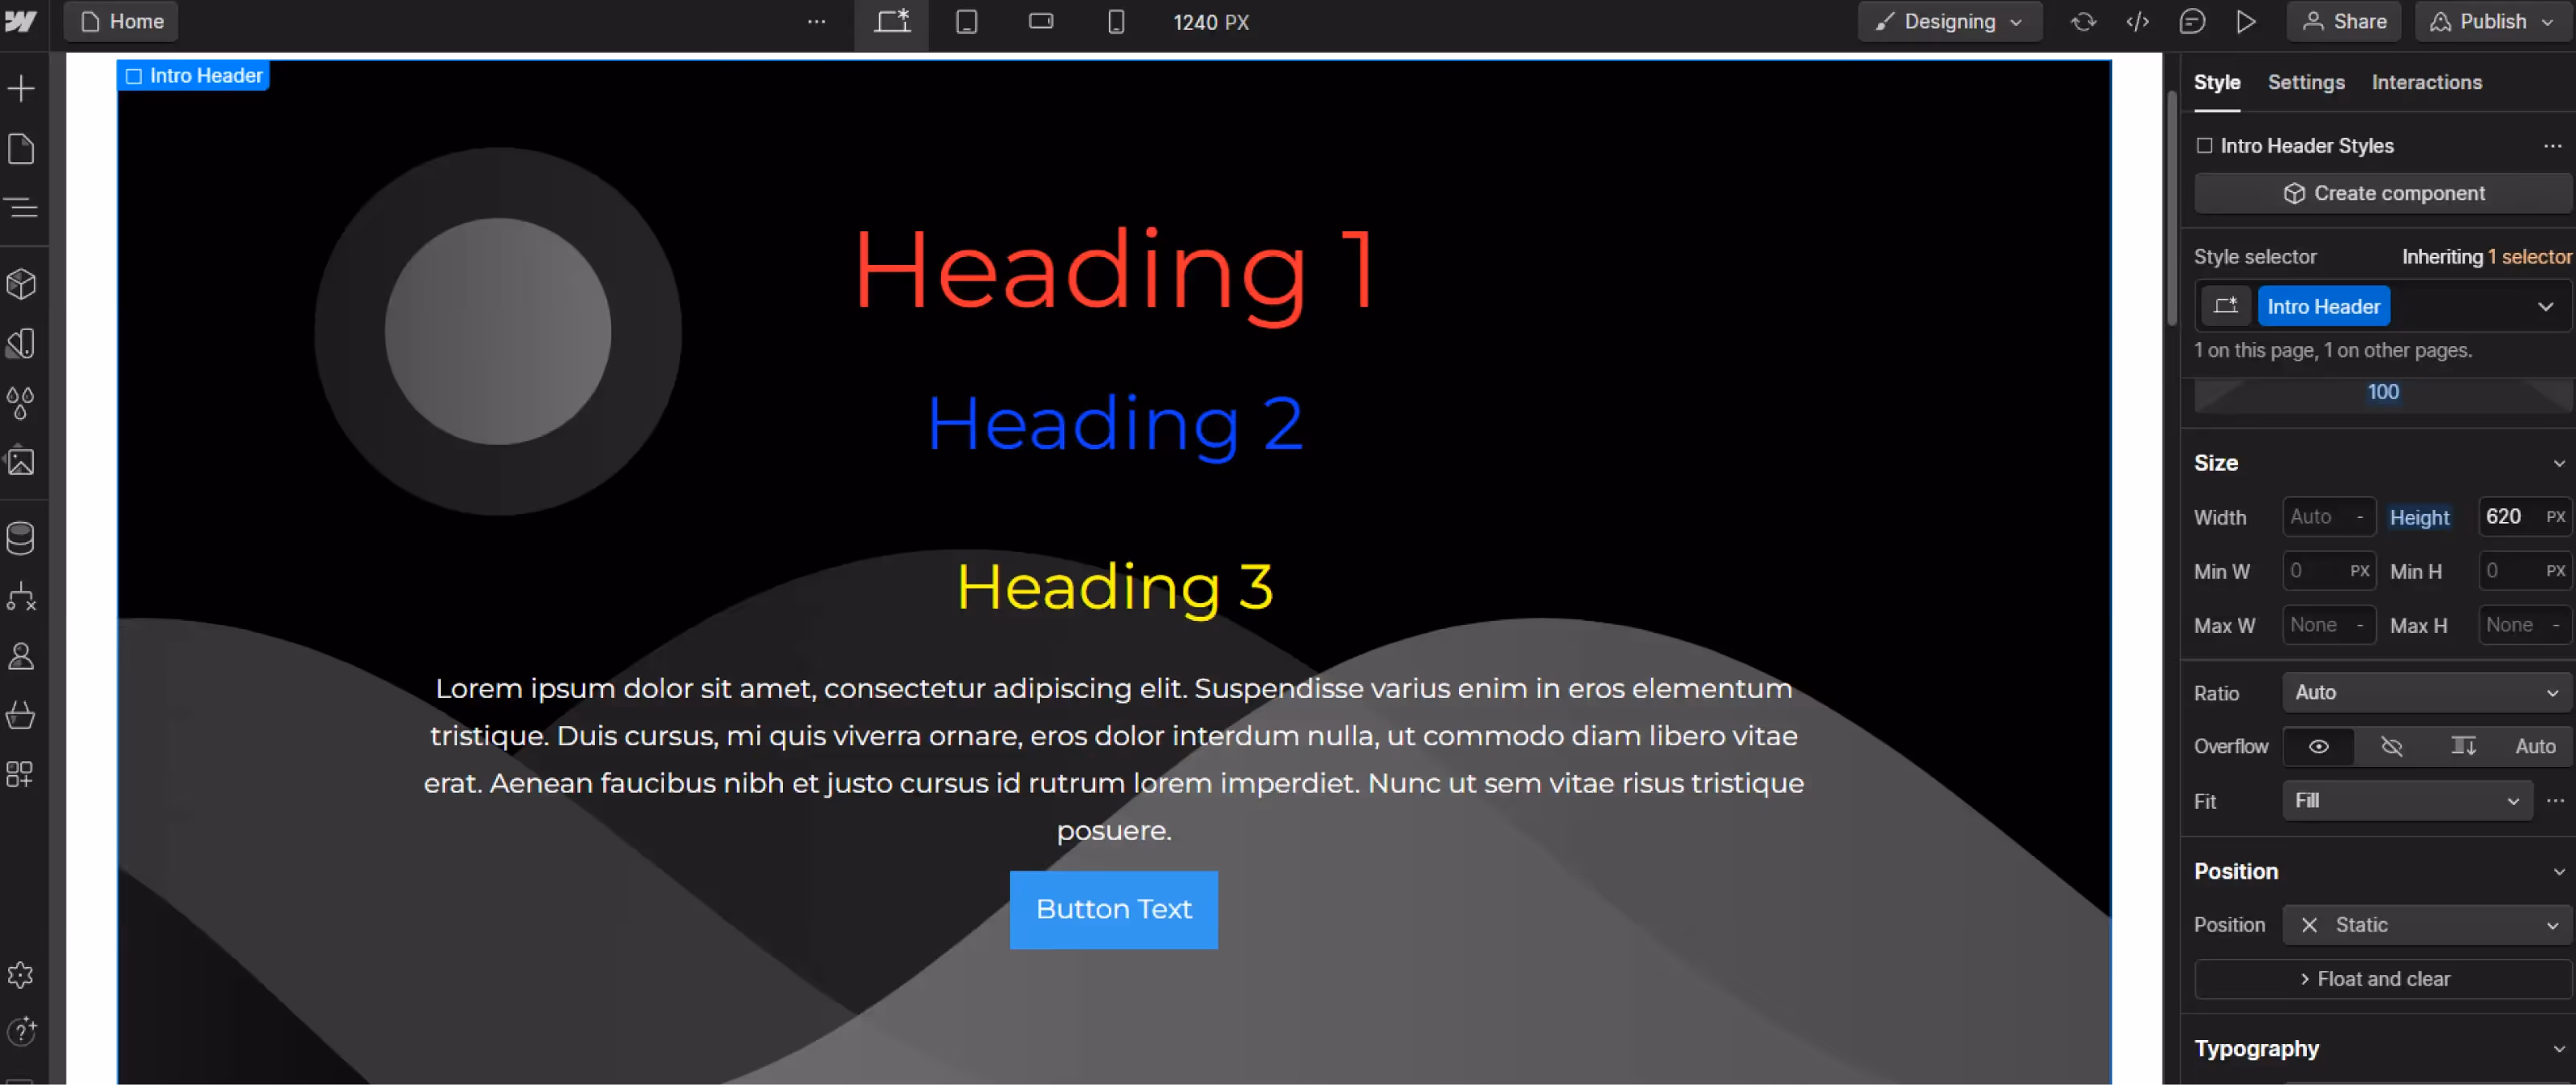
- Headings: Employ global selectors (e.g., "All H1 Headings") for each heading level, rather than creating unique classes for each instance. This approach keeps the code cleaner.
- Paragraphs: Ensure "All paragraphs" are selected.
- Buttons and States: Add their states, including hover, pressed, and focused states.
- Text Links and States: Define their respective states.
- Colors: Establish a consistent color palette by saving brand colors as global swatches. This way we can easily apply them or update them later, if needed.
Once done, add the elements to their appropriate sections on the canvas.
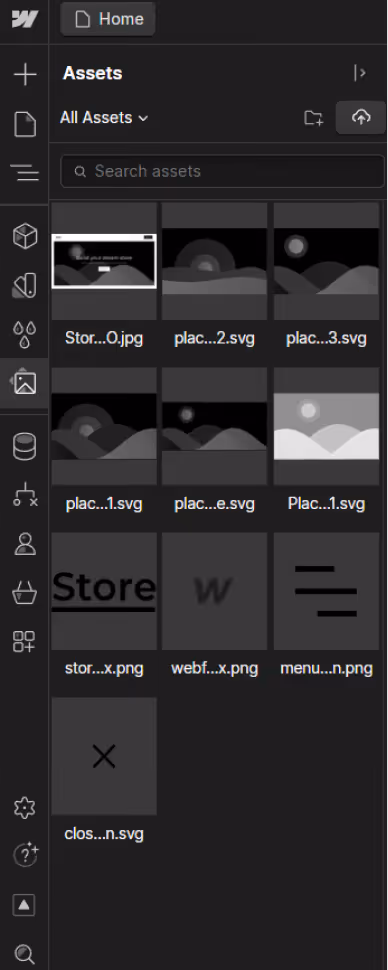
Step 5: Uploading images
In the Designer in Webflow we will open the Assets panel to add the images from Sketch Measures Export. They can be added either by dragging and dropping them or they can be uploaded one by one.
Step 6: Craft Global Element Components
Navigation, footer, header, contact form, and modal elements should stay the same on every page. To do it, it’s needed to make each into a Symbol.
The purpose of Symbols is to turn every element reusable component. This means that if you make any changes to a Symbol it will instantly update on all instances of that symbol.
For example, you can create global elements of the navigation, footer, and contact.
Creative Corner Tip: Use custom naming conventions for your classes. You can’t imagine how much it speeds up the design process.
Step 7: Create the rest of the website
After adding the fundamentals, the rest is cakewalk. Our assets, styles, and fonts are complete and we can start building.
Here are some simple steps to follow when building your website.
- Create a style guide Symbol that contains all the global elements that will be reused throughout the site.
- Create the hero section using flexbox with a vertical flex layout and align: stretch so the contents fill the section.
- Add hero content, including a welcome text using the global H3 style and a hero-heading text using the global H1 style with a white color.
- Add general content within the "content-section" element, using the same amount of padding for all content sections to maintain consistency.
- Reuse elements like H2 and paragraph elements within the content sections, leveraging the work done in the style guide.
- Create the contact form and footer, making sure to select them as Symbols for reuse on other pages.
- Explore Webflow's unique capabilities, such as animation, responsiveness, and fixed positioning.
- Remember that the designs completed in Sketch are not the final form of your work, and feel free to experiment and create something truly unique.
Final thoughts
Sketch is one of the best tools for web design there is, and combining it with Webflow, it almost sure to create a stunning website. There are a lot of steps involved in transferring your designs from Sketch to Webflow, and it may seem like a tough job to do at first glance, but nothing is impossible until it is done. We hope that this guide will benefit you in your design migration. And if you still struggle with completing it you can always contact us and we can take care of it for you.


